Introduction
Detecting a leak is the essential first step — but what comes next matters just as much. In this second post, we’ll trace the path from leak discovery through mitigation and full restoration. We’ll highlight how Elevating Leak Detection Services integrates into the broader water damage repair process, and point you toward relevant pages (like Leak Detection Services) and contact resources (such as Contact Us).
Why Leak Detection Must Precede Restoration
Attempting repairs or drying efforts before knowing the correct leak source can lead to wasted effort or incomplete fixes. Some reasons why detection is foundational:
- Prevents repairing the wrong spot
- Reduces unnecessary demolition
- Pinpoints hidden moisture risk zones
- Provides accurate scope for restoration
In other words — restoration begins with precision.
The Restoration Workflow: Step by Step
Here’s how a full restoration typically flows after leak detection:
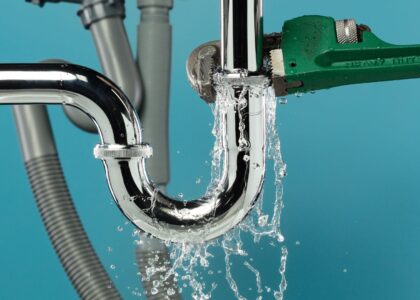
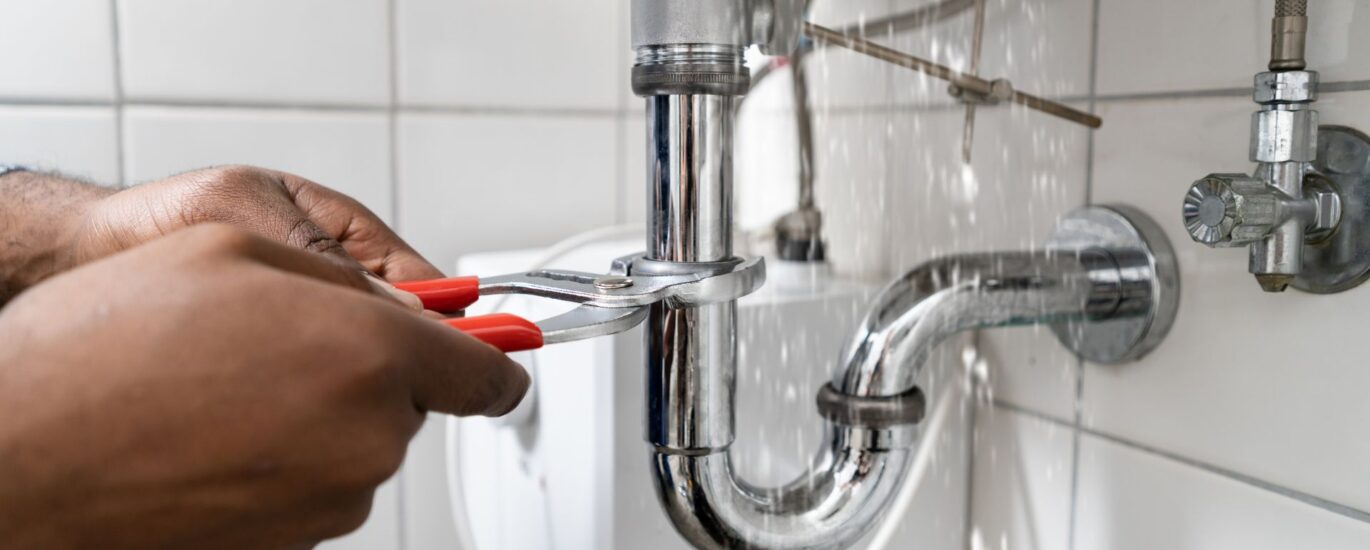
1. Stop Water Source & Containment
Once the leak is located, technicians either isolate the section or shut down flow to prevent further intrusion.
2. Water Extraction
Any standing water is removed using pumps, vacuums, and extraction mats. SafetyCulture+1
3. Drying & Dehumidification
Using air movers, dehumidifiers, and ventilation, the affected areas are dried thoroughly. Residual moisture behind walls or subfloors is monitored. SafetyCulture
4. Sanitization & Mold Prevention
If moisture remained too long, mold is a threat. Antimicrobial treatments and cleaning are applied to surfaces. SafetyCulture
5. Repairs & Reconstruction
Rebuild or repair damaged walls, floors, trim, painting — restoring the space to usable condition.
6. Final Inspection & Quality Check
Moisture meters, visual review, and walkthroughs ensure nothing is missed.
At all stages, documentation and communication with the property owner is key.
How Leak Detection Augments Each Restoration Step
Let’s break down how leak detection supports and optimizes restoration:
Extraction & Drying
Knowing exactly where water infiltrated directs drying efforts — preventing overwork or blind guesswork.
Targeted Demolition
You don’t have to take down whole walls or floors — only the areas directly impacted. This saves cost and reduces disruption.
Mold Control
If moisture is contained, mold remediation can focus just on affected zones.
Efficient Reconstruction
Rebuilding is more precise when the shape and location of damage is known ahead.
Because of this synergy, combining leak detection with a full restoration strategy leads to faster, more cost-effective recoveries.
Real-World Scenario: A Leaky Pipe in a Finished Room
Let’s walk through a common scenario:
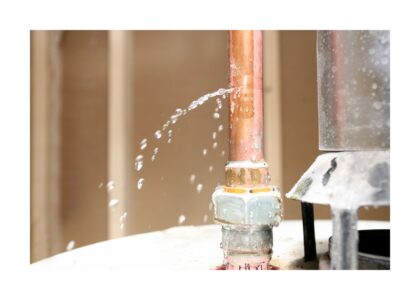
- A homeowner notices a damp spot in a corner but no visible drip.
- They call a leak detection service.
- Technicians use infrared imaging and acoustic detection to localize a slow leak behind drywall.
- Access is made via a small opening in the wall; the pipe joint is exposed and located.
- Water is contained, extracted, and drying begins around the site.
- The drywall is repaired, painted, and refinished.
- Final moisture checks confirm the area is dry and safe.
Because detection was precise, damage was minimal and restoration was streamlined.
Best Practices to Ensure a Seamless Process
Here are tips to make the detection-to-restoration journey smoother:
- Be responsive when signs emerge (odor, stains, bill changes)
- Document everything (photos, progress)
- Follow technician suggestions for controlled access
- Maintain good airflow, avoid obstructing drying machinery
- Ask questions at each stage — transparency matters
- Use the provider’s Contact Us page early if you want to initiate service or get clarity. rapidwaterdamagerestorationdallas.com
The Prevent + Prepare Mindset
Even as restoration is underway, think preventive:
- After repair, install moisture sensors and alarms
- Schedule periodic checks, especially in plumbing and HVAC zones
- Keep access panels for pipes or drywall for future inspection
- Use durable materials and moisture-resistant finishes
This mindset closes the loop — investing in detection, restoration, then prevention.